Showing posts with label Frugal Finds. Show all posts

Wednesday, March 19, 2014

How To Turn An Ugly, Generic Kitchen Table Into A Farmhouse Table: Part 1

This project was a beast, but in the long-run was waaay worth it. I am very happy with the way it turned out, so I thought I would share my process of how it all went down. 

I really should title this post "The Wrong Way of How to Turn Your Ugly Kitchen Table into a Farmhouse Table", because believe me, there were several "oops" and "shouldn't have done that"s  along the way, but I figure that every mistake made is a learning experience, which is valuable info for the future. But definitely tucked into the category of "what not to do." ;) I'll explain as I go.

Here's what I started with:


A super high-glossy, honey-colored-topped, white-legged generic kitchen table that I bought off of Craigslist. Totally not me in terms of the color and finish, but it had several things going for it: it was solid wood, super sturdy, and it had a great shape.


At first I thought about keeping the legs white and only refinishing the top, but I knew that wasn't totally me, so I set to work (over about the course of a month- weather and kids permitting) to refinish the entire thing, legs and all. I'm very glad I did. Gotta trust your instincts!

The first thing to be done was strip the piece. This part may sound grueling, but something that got me pretty excited about this part was the products I was using. I watched a lot of video tutorials online and read about several "natural" and low-fume products that made this step seem less intimidating and overall more enjoyable. In the past when I have tried refinishing furniture, this step has been such a stinky, high-fume, messy, ooey-gooey step that I have literally just given up and not looked back. And to be honest, I didn't really have the right materials or the adequate knowledge. This time, I didn't just "wing it" like I usually do, but was more careful and thought-out and bought the right materials and not just the cheapest ones. What a difference it makes! I can honestly say I enjoyed the entire process. :)

So what products did I use?


Strypeeze. This product is awesome. I first heard about it from Miss Mustard Seed, and because she literally is the furniture refinishing queen, I had to try it. I searched for it at all your typical large home improvement stores, but couldn't find it so I ended up buying it online (I can't exactly remember where, but I know it was around $18). It was really easy to use and is low-fume and biodegradable, which is awesome because I get sick/headaches from stinky, chemical-smelling products. This never gave me issues (I wore a nose/mouth mask just for good measure though). Another product I have used in the past is Citristrip and this can be found at Home Depot, Walmart, etc. It is also low-fume and biodegradable, but is a little thicker and slightly harder to use than the Strypeeze if my memory serves me correctly. I liked using the Strypeeze better, but for a local option (at least here in the DFW metroplex), its a good choice and one I will likely use again in the future as well.


Another product I really loved (also used by MMS) was mineral spirits. I found this at my local Home Depot. It was around $11 for a large container. I will always use this from now on because it really helps to loosen any existing paint/varnish left (after you strip) and cleans the wood and any tools you use too. It says "odorless" which isn't exactly true, but it was definitely low-odor and is biodegradable like the strippers. 

Other tools I used in the stripping process were good quality gloves, dust mask, glasses, medium-grit steel wool (more on that later), several old cloths that I didn't mind discarding later, inexpensive chip brushes, and a 3-inch (approx.) stainless steel/rubber-handled putty knife/scraper. I have used plastic ones in the past and believe me, the difference is HUGE! It was worth the $5 investment. ;)

So first things first. I started with the table top and, using a chip brush, layered on a pretty good coating to the top. After about 30 minutes, the varnish started bubbling up and it looked like this:

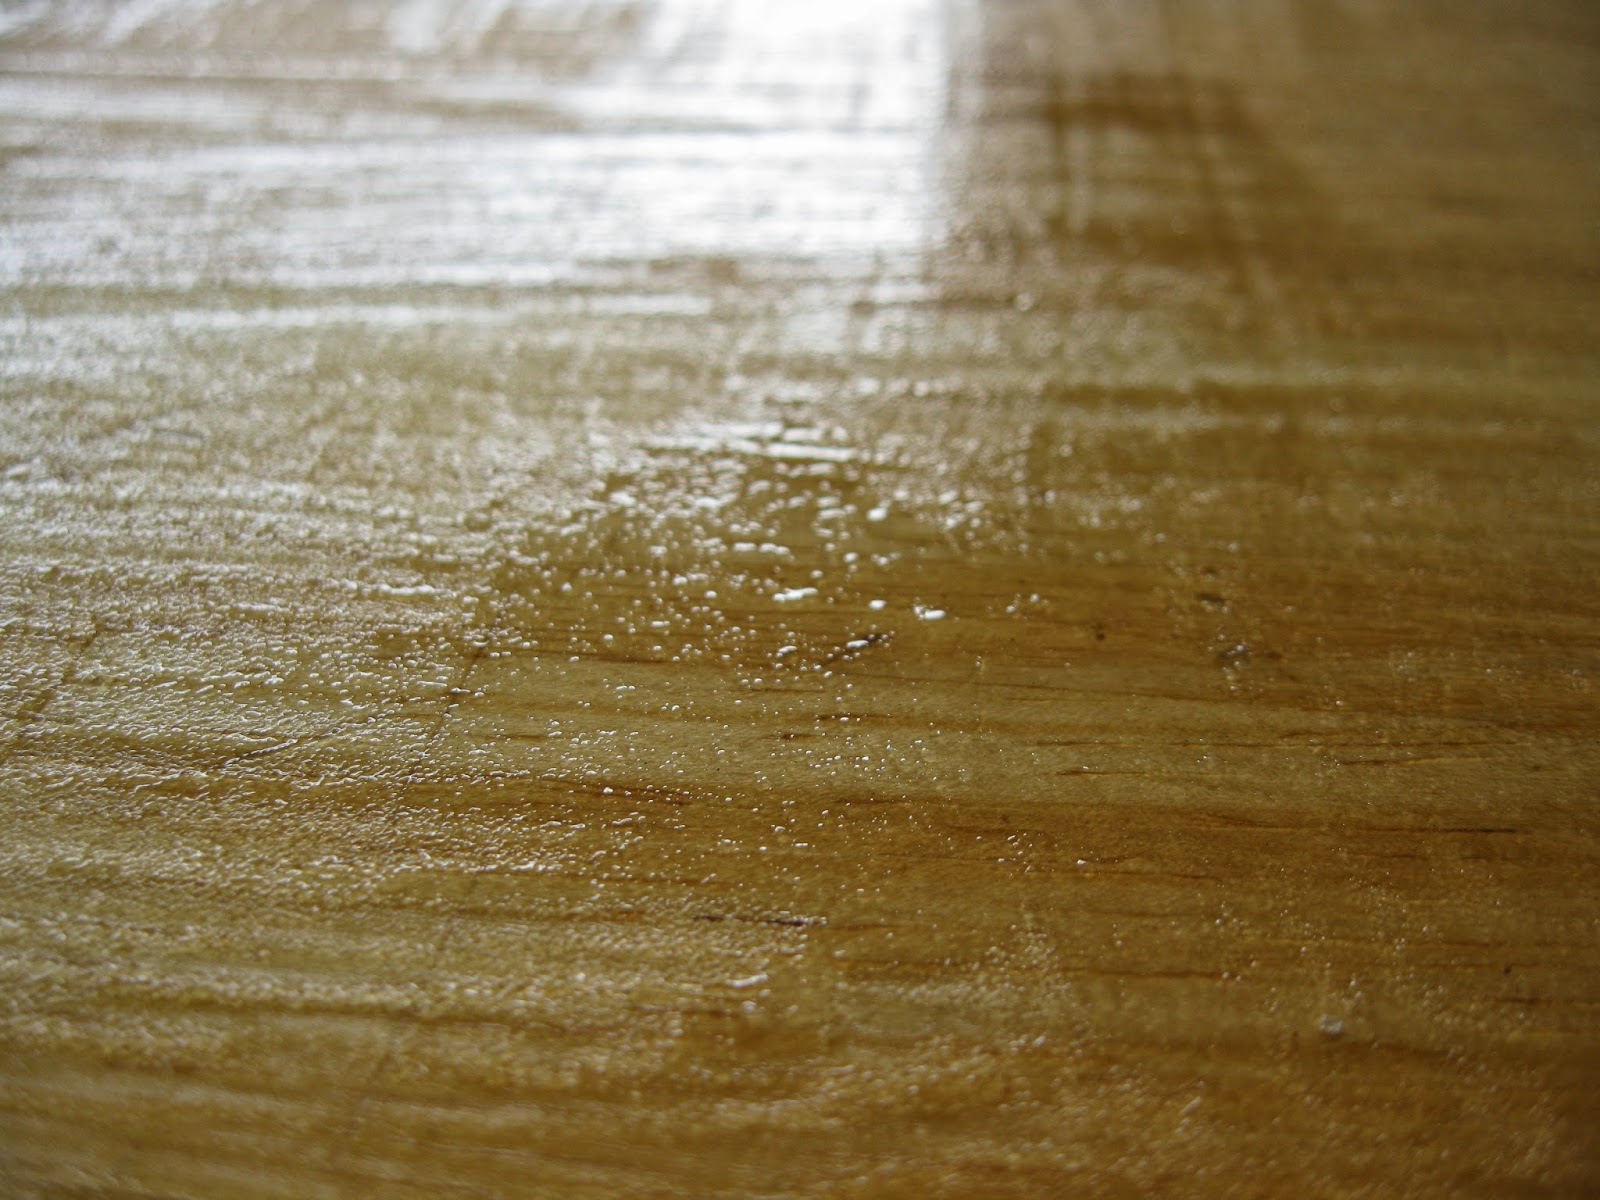


Using my putty knife, I started scraping off the finish off in long, strokes, going with the grain. 


When I had scrapped off all of what had come loose, the top looked like this:


Not a drastic improvement, but a little better. At this point I thought I had gotten all the honey-colored stain/varnish off and that the wood must actually just be yellow-ish, so I tried an experiment (bad idea). After I sanded the top down a bit (first with 100 grit sandpaper, then with 120) I went ahead and stained the top of the table so I could then work on stripping the legs while it dried. Warning: don't do this! What I didn't know was that the old varnish wasn't actually all off and the new stain wouldn't look even when I brushed it on. If I had waited until I stripped the entire piece first, I would have seen the true color of the wood I was working with underneath the paint on the legs. Oh well- lesson learned!


So here it is after my "experiment"/impatient step. It looks kinda pretty, but wait. 


The stain started looking really uneven (notice the variation in the photo above, although that is slighly sanded down) and some of it just looked like it was "sitting" on top and not soaking in. So what did I do? Applied a second coat. :( Same results. Some dark spots, some light, and overall just looked really streaky that I knew I wouldn't be happy with it in the end. 


Meanwhile, I was stripping the legs. Here's the process I went through (which I would recommend ;) ). 


Same as the top, I started by applying a thick-ish coat of the Strypeeze, waited 30 minutes, and scraped it off into an old, oatmeal container from the recycling bin (a large soup can would be ideal). 


See how the paint is "wrinkling" and pulling away from the wood! Yay- it's working! After applying several coats of the stripper and scraping as much off as I could with the putty knife, I cleaned the entire piece with the mineral spirits and an old cloth. After that there was still some stubborn paint on, so I used steel wool to really get into the grain of the wood by dipping it into mineral spirits, and scrubbing it on in the direction of the grain. This took a long time because there were some spots where the paint was really stuck on. After that step the paint that was still stuck on got sanded off. I waited til the last to do this because I didn't want to be sanding for forever or worst- sand away the shape of my legs! I used medium grit sandpaper to start off with, then finished off with a fine sandpaper so it would be smooth.


Lastly for the legs, I wiped down/cleaned the piece again with the mineral spirits and an old rag and if there were any paint still left on, I got an old toothbrush and dipped it in the mineral spirits, then scrubbed the paint off. This may sound OCD, but I knew that since I was staining the piece, there couldn't be any traces of the paint left or the stain wouldn't soak in or look even. 

At this point I had pretty much decided I wasn't happy with the top (and now I knew what color of wood I was working with) so I gave the top a good sanding with my power sander. Yay- much more even and no more yellow!! (note: don't ever use power sanders on legs/curvy accents, you will turn once rounded legs into blocks of wood in seconds (I learned that the hard way on a coffee table once! ) :(


All stripped down, sanded, and ready to be stained!


For the stain I used Minwax Wood Finish in "Special Walnut 224". It's a beautiful color- not too dark, not too light. This was about $10, give or take, from Home Depot. 


The staining process was fairly easy. Brush it on with a chip brush, wait about 5-15 minutes, then wipe off any excess with a clean, old cloth. I applied 2 coats and was happy with the darkness of the color.


This is what it looked like freshly stained, so it's still glossy. After the stain soaks in and dries a bit, the finish looks a lot more muted/dull. I didn't want a super glossy finish anyway.

In "Part 2" I'll show you what product I used to wax it with (another wonderfully natural product) and the finished result! :) But for now, so far so good! 

xo,
Gail

P.S. Have you worked on any projects lately? Had any learning curves along the way? Please share! :)

Friday, February 10, 2012

A "New" Coffee Table

Hello my Friends! 

It's been several months since I've posted and to be quite honest, as good as it was to take a "break", I've been missing it a lot lately! So...here I am! I hope you all had the merriest of Holidays and are feeling refreshed in this New Year. :)


~~~~~~~~~~~~~~~~~

The hunt for a new coffee table began about 7 months ago when Cole started pulling himself up on furniture and tottering around more. Our old coffee table was one that I found at garage sale for $5 (a steal!) and was rectangular with Queen Anne's legs. It has served us well for several years, but it's amazing how differently you look at things (furniture included) once you have a child! The corners of our coffee table all of a sudden appeared much sharper and with Cole running around more and more, it was time to say goodbye to my $5 find. And to make things that much easier, my style has evolved a little over the last couple of years. As if Cole wasn't motivation enough....that's always motivation! :) Haha! (You girls know what I mean). ;) 

So the hunt was on! 

I knew I wanted to meet this criteria when finding a table:

*Antique
*Sturdy/heavy
*Well built, would hold it's value
*Oval or rounded corners
*Stained
*Shelf or drawer as an added bonus

I looked at a lot of pictures online to determine what I was looking for (to see if "it" was even out there!) and found one on this blog that matched what I had been looking for exactly. Now if I could only find it's sister! 
:) After doing some research I learned that it was an antique empire style library table-turned coffee table from the late 1800's/early1900's. I also found out, they can be very hard to find and a lot of times, very expensive. :( With the odds of finding one heavily stacked against me, I just did what any normal, bargain-hunting, determined person would do: kept on looking. Garage sales, estate sales, antique stores, flea markets, thrift stores, Salvation Army, Ebay, and of course...Craigslist. :) 

I wasn't a maniac I promise, but I had my "eye out" when I would be browsing around. Until last week!! Turns out she does have a sister! :) When I read the ad on Craigslist and saw she was listed for a mere $185, I knew she had to be mine. 


And here she is in her new home!


The owner said she was from late 1800's. Isn't she a beaut? She isn't perfect
by any means (has a few little chips),  but I love it. Maybe sometime down the road
when we're not investing in raising children...I'll invest in a full-blown restoration.
But for now, I'm okay with a few imperfections. ;)


She even has the "bonus drawer" I was hoping for. :) 


I love the gentle curve of the legs. Sometimes with antique pieces,
they can seem to be too overly detailed. I love that this piece has detail,
but is not overly fussy. It will work with most any style of room.


And here's our little Cole, perfectly at home around the table's rounded
edges.
I thought about putting a vase of flowers in the center for this little photo
shoot, but that's not very realistic cause let's face it, it would just end up on
the floor. Thus is life with little ones! :)

To me, finding this coffee table and having it meet my wants and our needs was an example to me that God really does care about the little things. And that He cares about me! 

Even if it is just a piece of imperfect old furniture. ;)


Have a beautiful day,

Gail


P.S. How has God been meeting your little
wants and needs?

Saturday, July 16, 2011

Vintage Bridal Shower

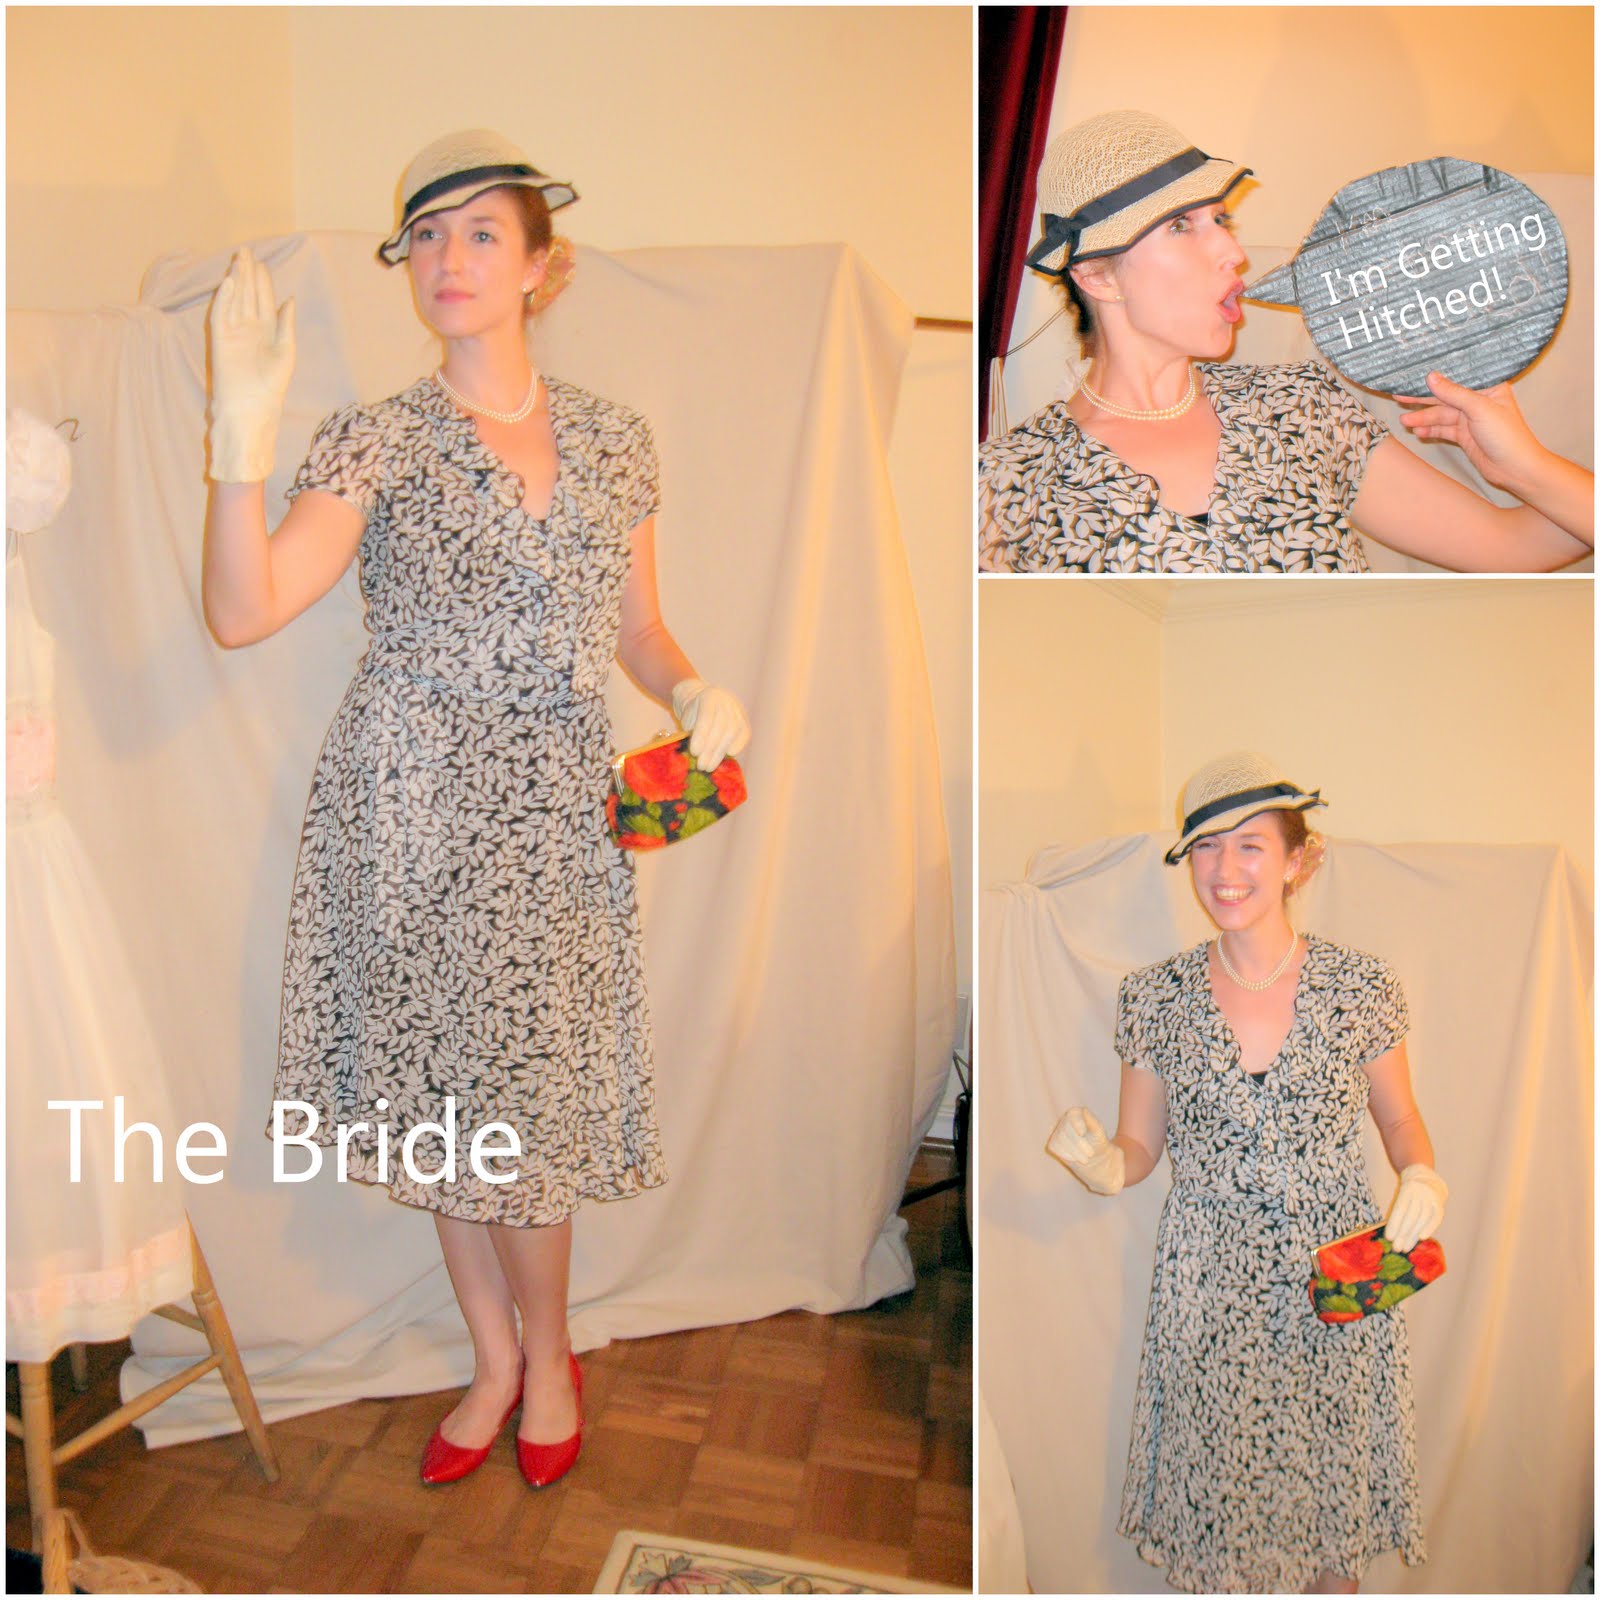
I had the pleasure of hosting a vintage lingerie bridal shower with 3 other maids' of the Bride at our home a few weekends ago. The bride is a very dear friend of mine...and now she's all off and married! Missy & Michael---I couldn't be more happy for the two of you!

Here's some pictures and collages I created to give you an idea of our evening. We chose the colors red, black & turquoise for the shower and tried to use them throughout our decor. (I apologize in advance that some of the photos are of poor quality.)


The Invitation:

Inside it invited guests to an
"Old Lace & New Love"
vintage lingerie bridal shower


My delightful friend, Missy,
playing the part in the "Photo Room"


I created a room where guests could have
fun and be silly by creating their own phrases
on chalkboard painted cardboard quote cut-outs
and an assortment of vintage hats, gloves & purses.


Hostesses & Bride:


One of my favorite details were the drink tags
we made using leftover scrapbook paper from the
invitations. I already have a lot of turquoise in my home
and getting to bring these little goblets out was fun
cause I don't use them that often and they just
happened to work perfectly with our color scheme!

Above: turquoise goblets with scrapbook paper name tag,
coffee filter pom poms, the food table, red velvet cupcakes
with cream cheese frosting & strawberries, red roses.


What my make-shift mantel looked
like before all the presents arrived! I
used the vintage dancer print in the decor
cause the Bride is a dancer (it used to hang in my
room when I was growing up).


More decorations:

Above: tree decorated with coffee filter flowers, vintage
ballet dancer print, coffee table glamour, refurbished


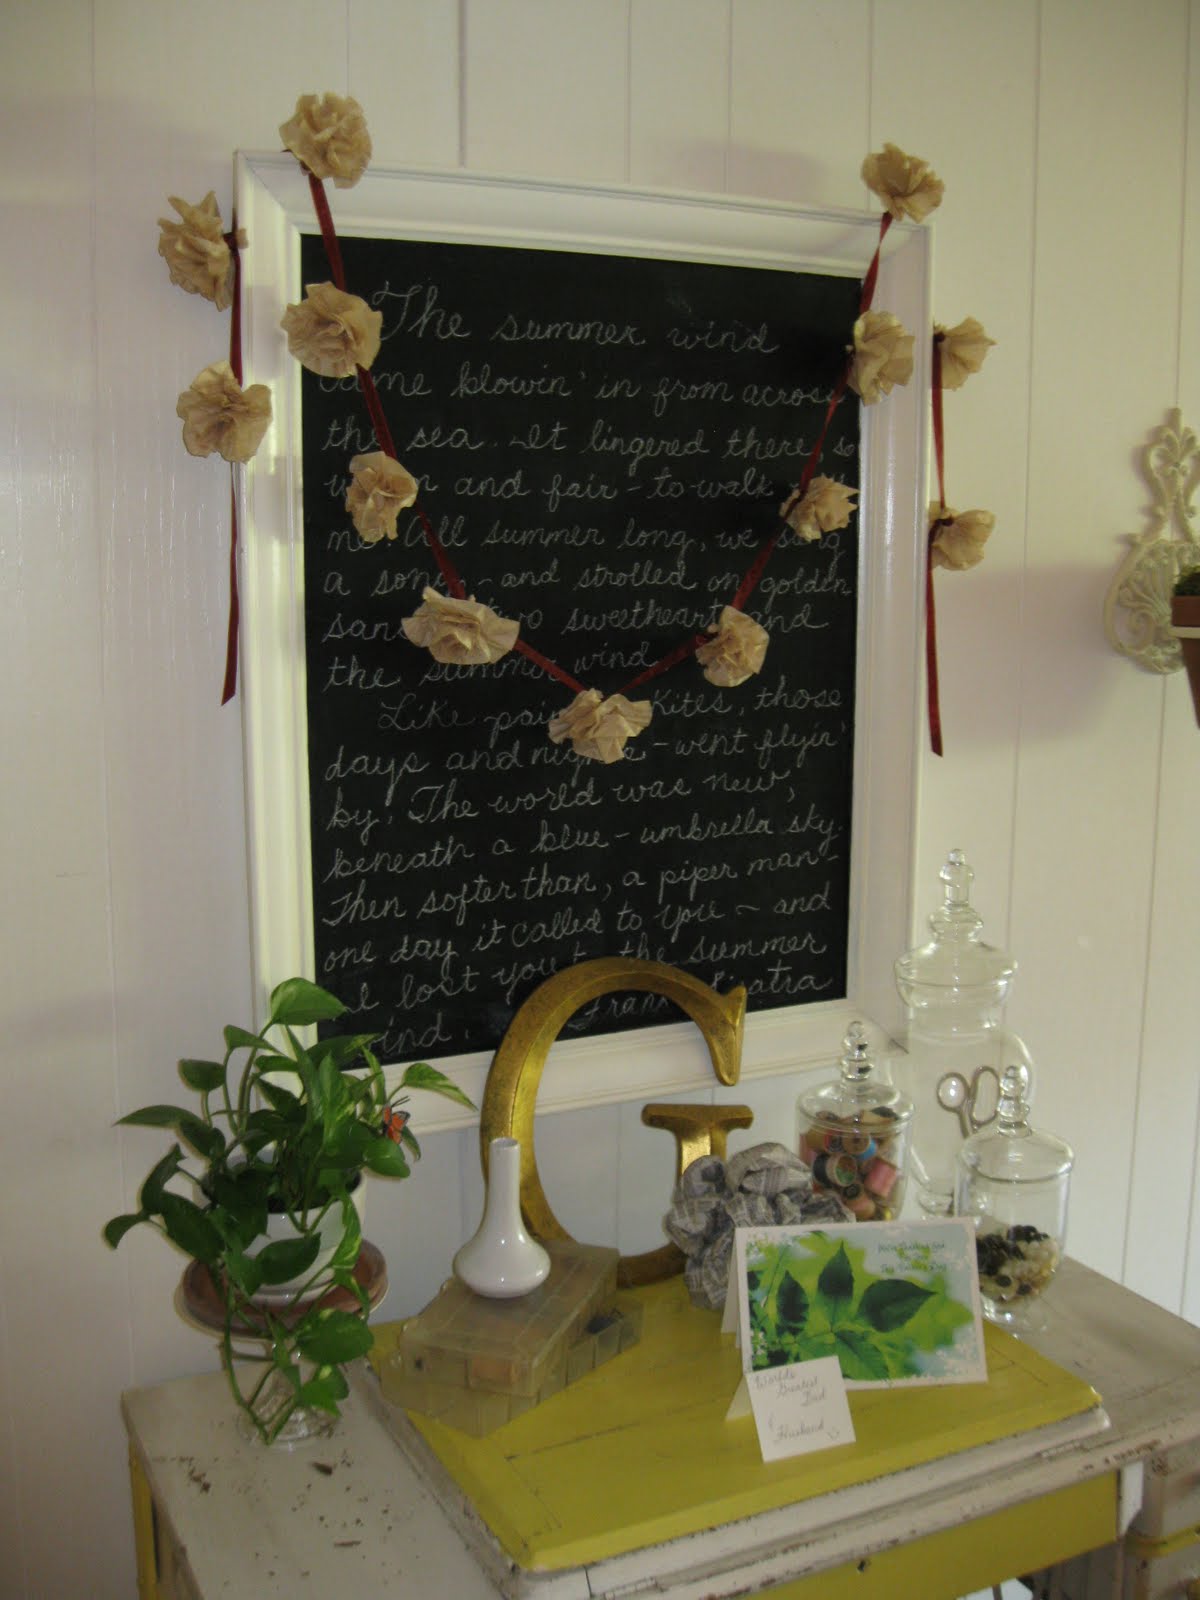
My chalkboard adorned with a natural
coffee filter flower & red ribbon chain


If you're interested in making these flowers,
they really are a breeze. All you have to do is crinkle
each filter til they are crumpled and soft, spread them out,
then pinch in the middle of each filter and arrange with your
fingers until you get the look you want. If you want them really
fluffy and layered you can stack several filters. Secure with
a pipe cleaner or ribbon and you're done!


Vintage details:

Above: vintage 1950's Ladies Home Journal Magazine
lingerie ad, vintage paper dolls (I played endlessly with
these when I was younger), vintage silk
robe with tulle that belonged to my great Aunt.


It's hard to see in this photo, but the scrabble letters
read: "MISSY AND MICHAEL SITTING IN A TREE....
FIRST LOVE.....THEN MARRIAGE...


And married they are indeed!!!


~~~~~~~


I hope you enjoyed the party!


Gail

Thursday, June 23, 2011

How to Revamp a Lamp

I love taking something ugly and turning it into something useful and beautiful. :)


Take this cheap goodwill lamp for instance:


The brass was looking a little tired
and the beige center of the lamp...blah.
But the curves? Ooh la la!! I loved
it's trophy shape look. :)


And here's the ugly shade I bought with it. It was
actually painted maroon and baby blue with
craft paint right on top of the fabric shade.
U-G-L-Y. I paid $10 for the pair
because I could see potential in them.


And here's the after!

After a little oil-rubbed-bronze spray paint
(which I already had), this lamp went
from drab to fab in less than an hour!


All I did was remove all the fabric and glue
from the shade, tape any lamp parts I didn't
want to get spray painted on the lamp base,
and then sprayed 2 coats of the ORB spray paint...
and voila! I realize these photos don't do this
little lady justice, but she seriously looks
like something I bought from Pottery
Barn or Restoration Hardware!


I may end up buying a shade for her in the future, but for now, I'm really loving the exposed lines of the shade. Very chic, don't ya think?


Have a Happy (& Crafty!) Thursday,

Gail

Thursday, May 19, 2011

Garage Sale-ing

On Mother's Day Eve I snagged the opportunity to do some much desired garage sale-ing....all to myself. I'm not sure if I enjoyed the hunt or the time alone the most! It was a perfect day for it, and as fate would have it, I did not come home empty handed. ;)

Here's are few goodies I was able to snatch up:


Cute little wooden stool


I already had the white vases, but
I thought using them would take prettier pictures ;)


$3!


Faux, but surprising real-looking,
Pottery Barn birch bark candles.
Can you believe these were once priced
at $30, $20, and $15? = $65!


I bought all 3 for just $5!
{they look like they've only been used once too!)


Ratan wicker basket organizer- $1


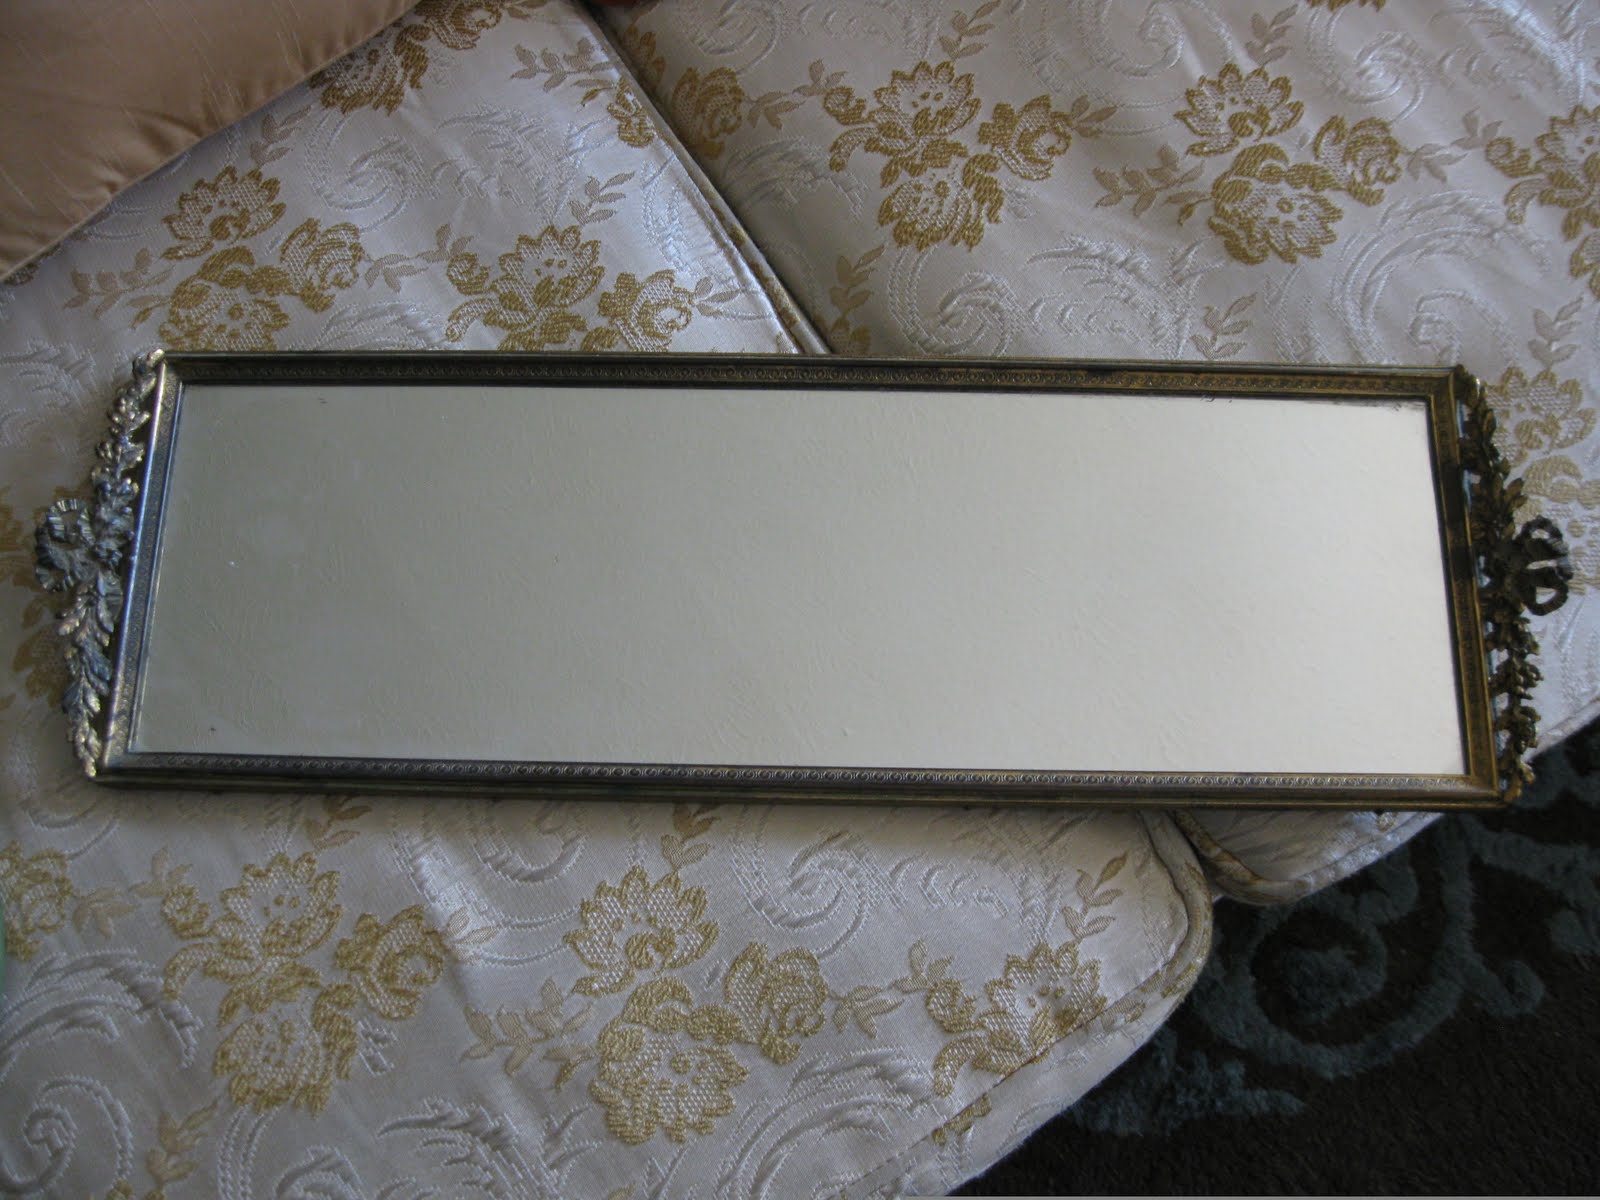
Vintage jewelry tray with ornate detailing


$1!


2 wood frames with glass fronts- $1.50


And last but not least.....

This old symphony book with
awesome wear and tear...


I just love the texture of the worn pages


50 cents!


Total investment: $12.00! I was happy with what I came away with and am looking forward to how I'm going to now USE them! I believe in using everything you own. Of course I have some things just for decorating purposes alone, but to me, that's where they find their use. However, if something is meant to be handled and used and it's just sitting in a closet or on a shelf and is never taken out and used....then you might as well replace it with something you actually use!!

How I'm going to use these items:

Stool- plant stand
Birch candles- coffee table centerpiece
Ratan organizer- in kitchen to hold incoming/outgoing mail, etc.
Jewelry tray- on vanity in Master Bedroom
Frames- will repaint the gold one black and use them on my "studio picture wall" that I'm creating
Symphony book- for decoration


Well, that's all for now folks! If you've been garage sale-ing recently and found some great deals, leave me a comment and tell me about it! ;)

Have a beautiful Thursday!!!


Gail